Building Work (Week 1) – What Lies beneath

The building work started this week – and I discovered that I didn’t really have any idea what was about to happen!

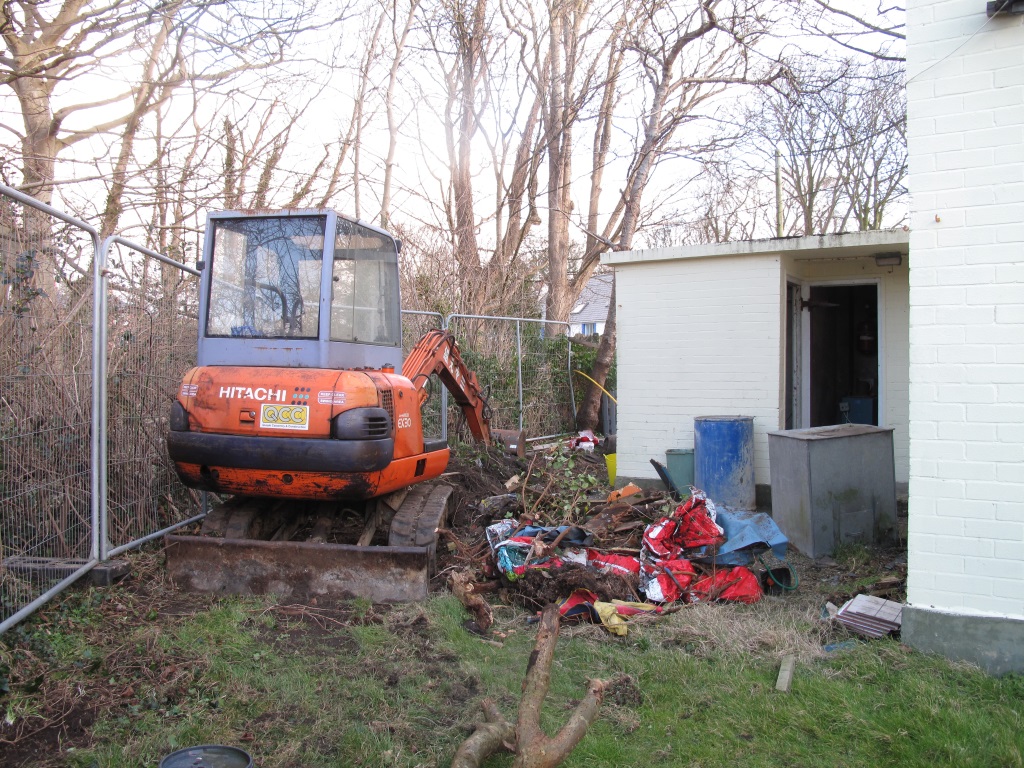
First the shed, compost heap, gates, arbour etc were removed.
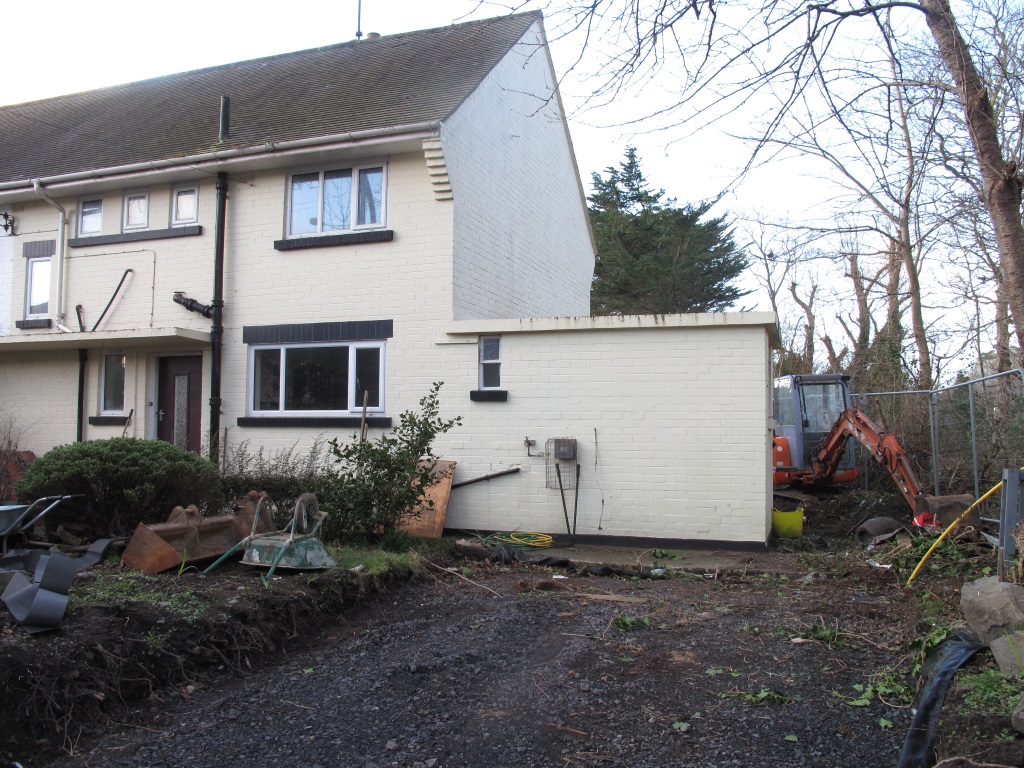
Shed Gone

Shed Gone Rear

That shed was even more of a tardis than I’d imagined – it contained (among the ‘normal’ tools, skateboards, lawnmovers which you’d expect to find in a shed) an arm chair, a washing machine, a double sink, a computer and a toilet – oh and quite a few beer cans and vodka bottles!

Beer can barrel
Vodka Bottles

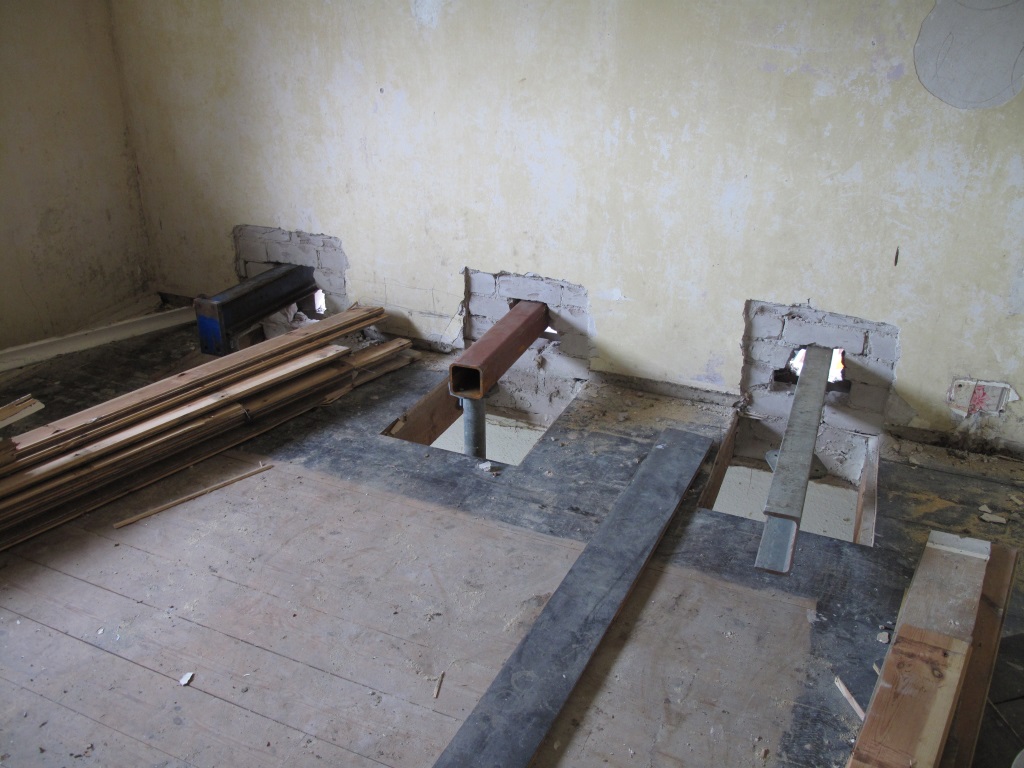
Next they started cutting holes in the ceiling of the dining room and in the floors of the bedroom – ready for the acrow-props.  This part took me completely by surprise (not that I wasn’t told, just that I didn’t really consider what that meant for the inside of the house)!

N.B. check out that woodchip free ceiling – hours that took me.

Cut out Ceiling

Given that I didn’t have any idea this was about to happen, it’s pretty lucky that a) I didn’t get the bedrooms replastered and b) when I got the upstairs rewired I didn’t put any sockets on the outside walls (after all that deliberation about the bed position – it could have easily been the case).
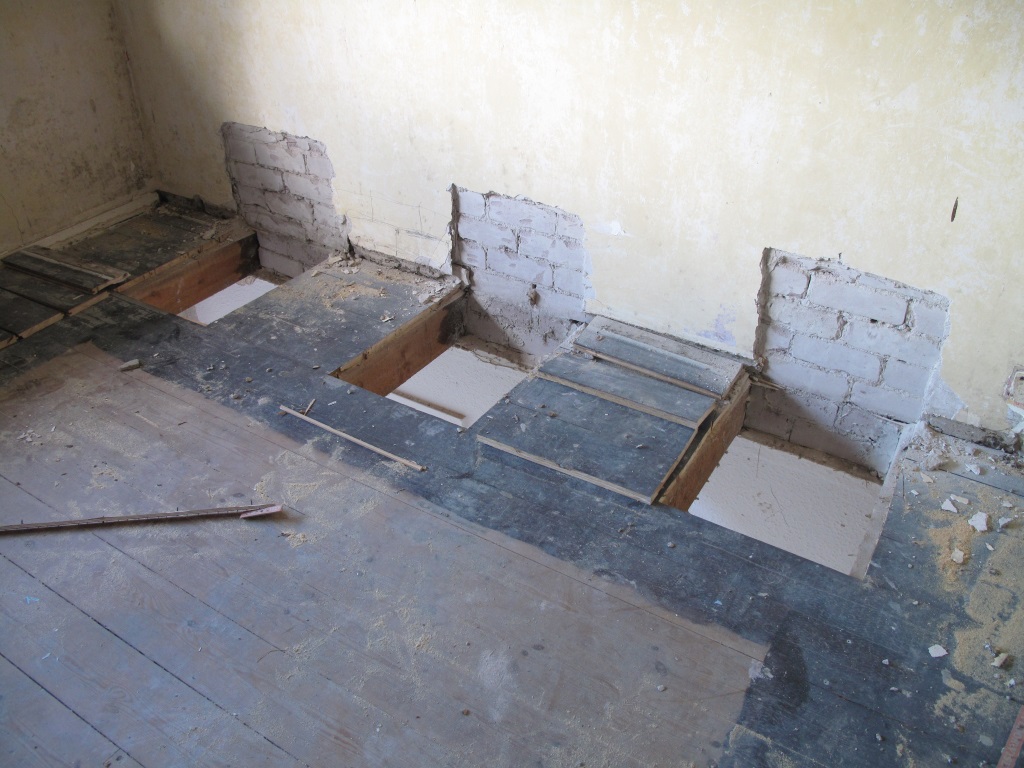
Holes in the floor Upstairs

As the joists are in good condition – the plan is to put them inside the channel of the steel so instead of the steel hanging entirely below the ceiling height (about 25cm) it will only come down into the room a couple of inches.  This was an unexpected bonus – the designer had told me it would be a lot more work but Dave (the builder – of QCC) said “it’s the same work, just higher up” 🙂
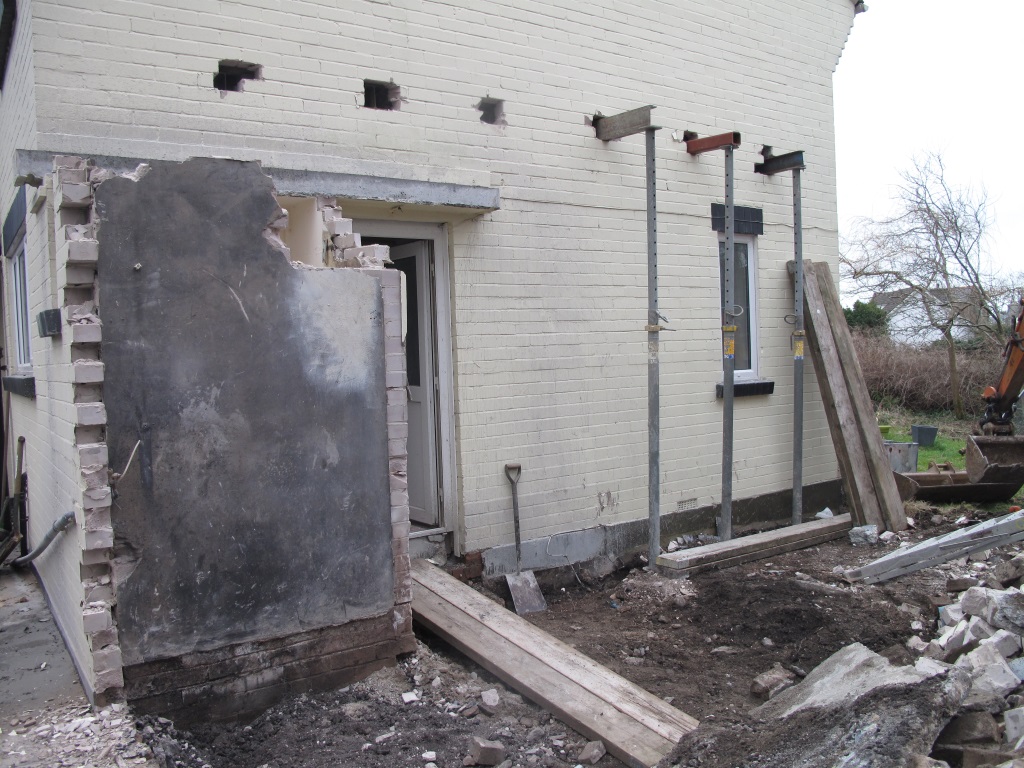
Pantry still standing

Next day saw the demolition of most of the outbuildings – the pantry was left as it’s open to the kitchen.

The acrow props hold up those little steel beams, and together they will hold up the gable end while the wall is removed below it and the new full length steel is installed (at least I think that’s what’s going to happen)!

The next day the pantry was gone (and the doorway had been plugged with a door from upstairs) and all the acrow-props are in.

Props from the Outside

This is what it looks like inside in dining room (I’ve no idea why there is a solitary biscuit in the centre of that board but I suspect the two different bricks right at the bottom of the frame means I’m going to get educated come Monday).
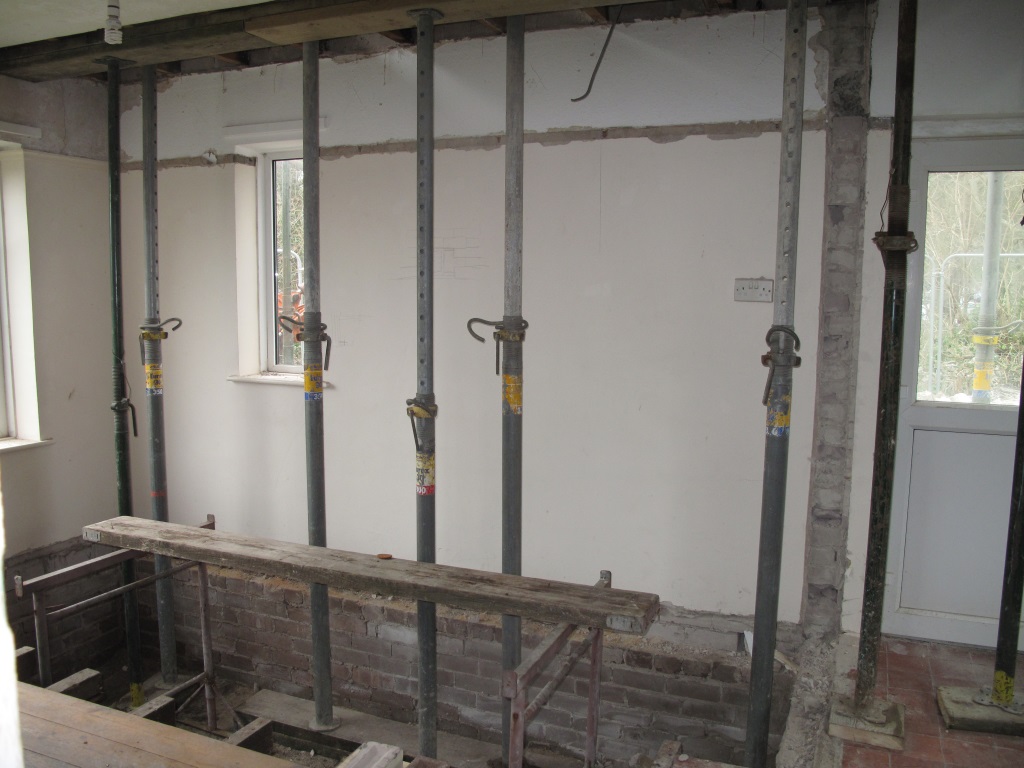
Props from the Inside

And what it looks like upstairs.

Props Bedroom 2

Props Bedroom 1

The builders have also already ripped out the kitchen, revealing this rather fetching patchwork of wallpaper, and set up a makeshift tea station 🙂

Tea Station

But the best bit – is what they found under the floorboards!!!
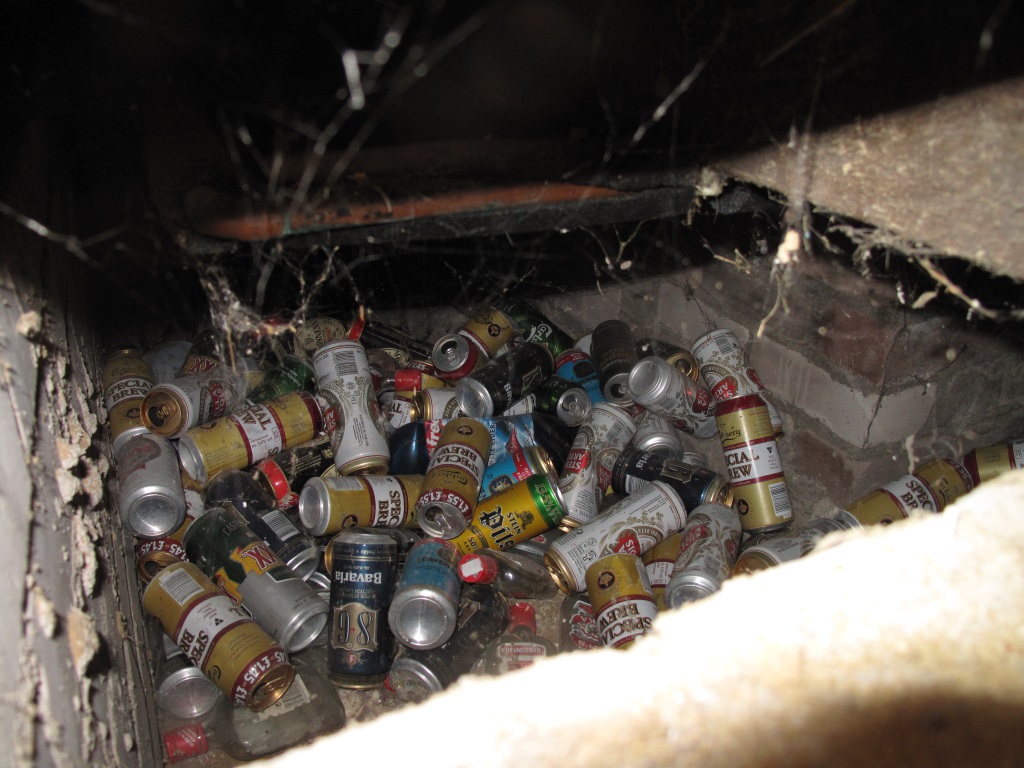
Beer Cans under the Floor

That photo doesn’t even begin to do justice to the extent of the depravity.
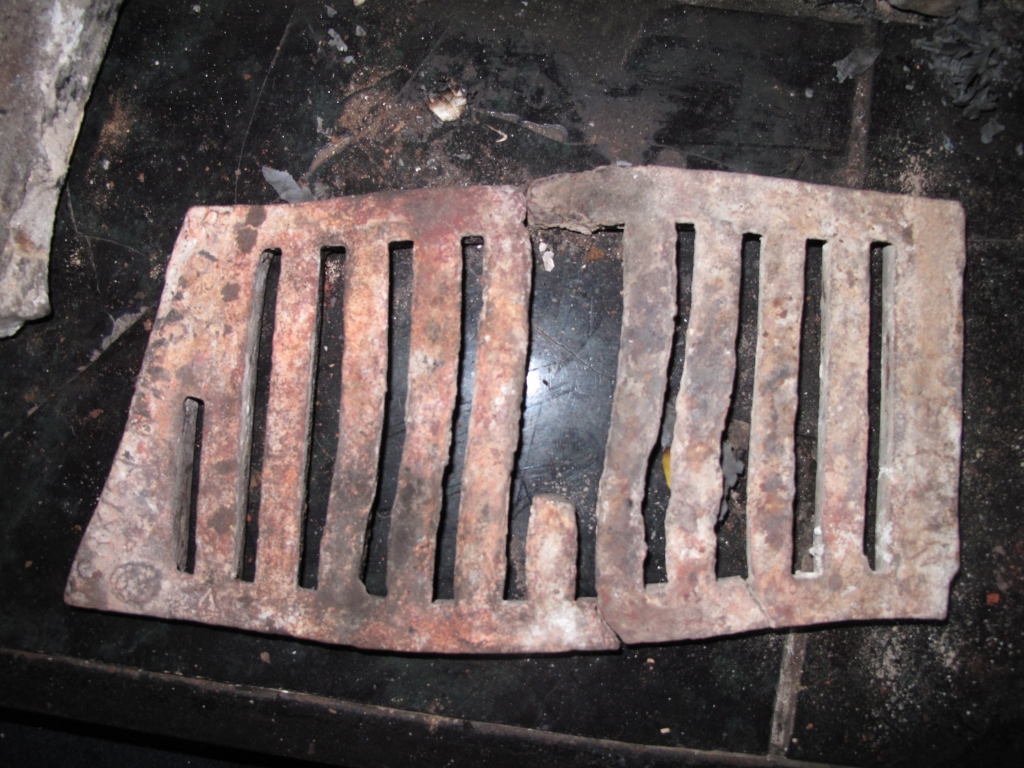
That’s grate!

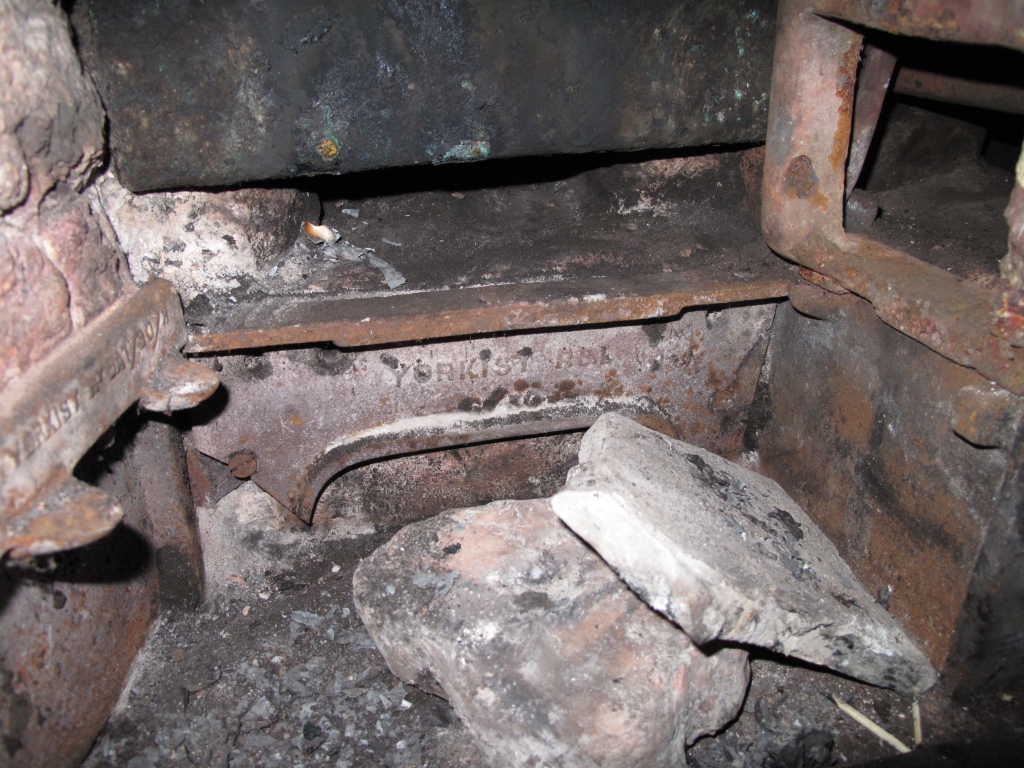
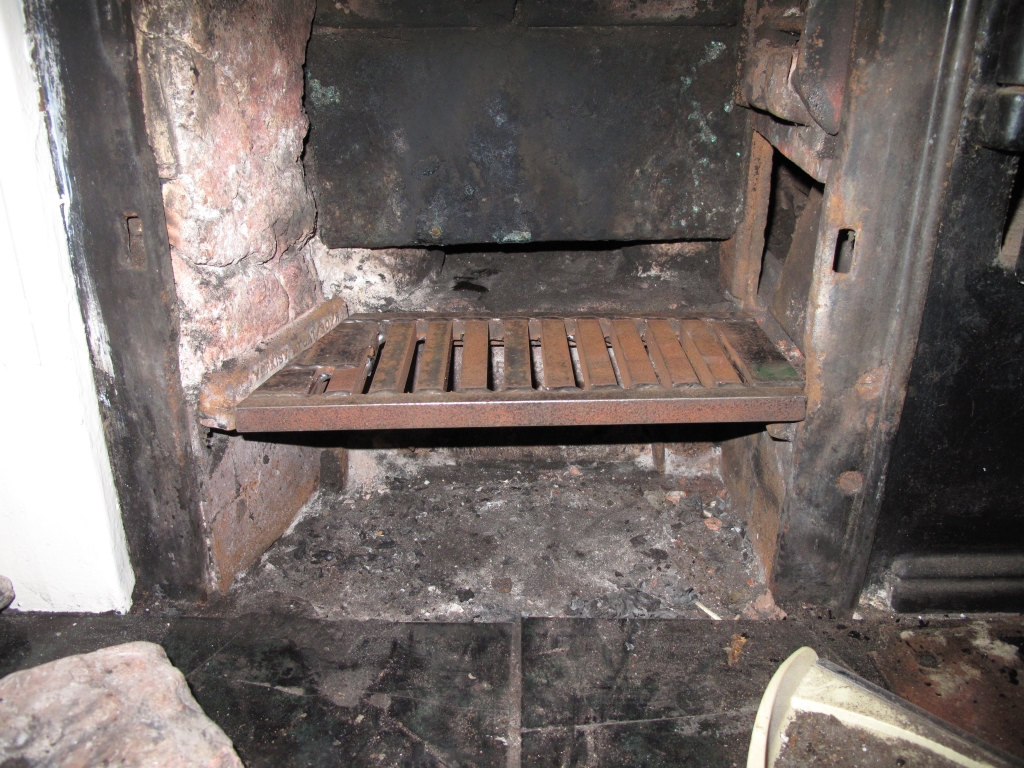
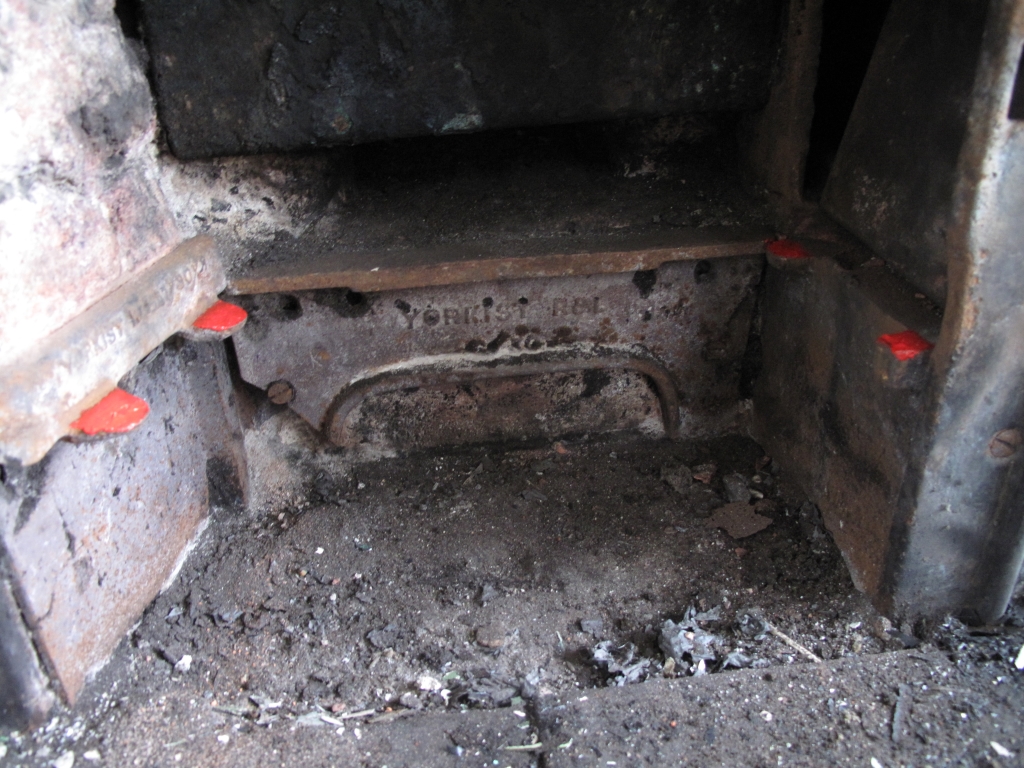
The grate for the Yorkist range was broken in two and severely warped. There were some firebricks which presumably had been used to balance the broken pieces up but it was actually so badly warped that the pieces didn’t fit in the space for the fire any more. It’s not a standard rectangular shaped grate but a trapezium. I did a little bit of googling in case anyone made replacement grates specifically for Yorkist ranges but nothing came up.

grate

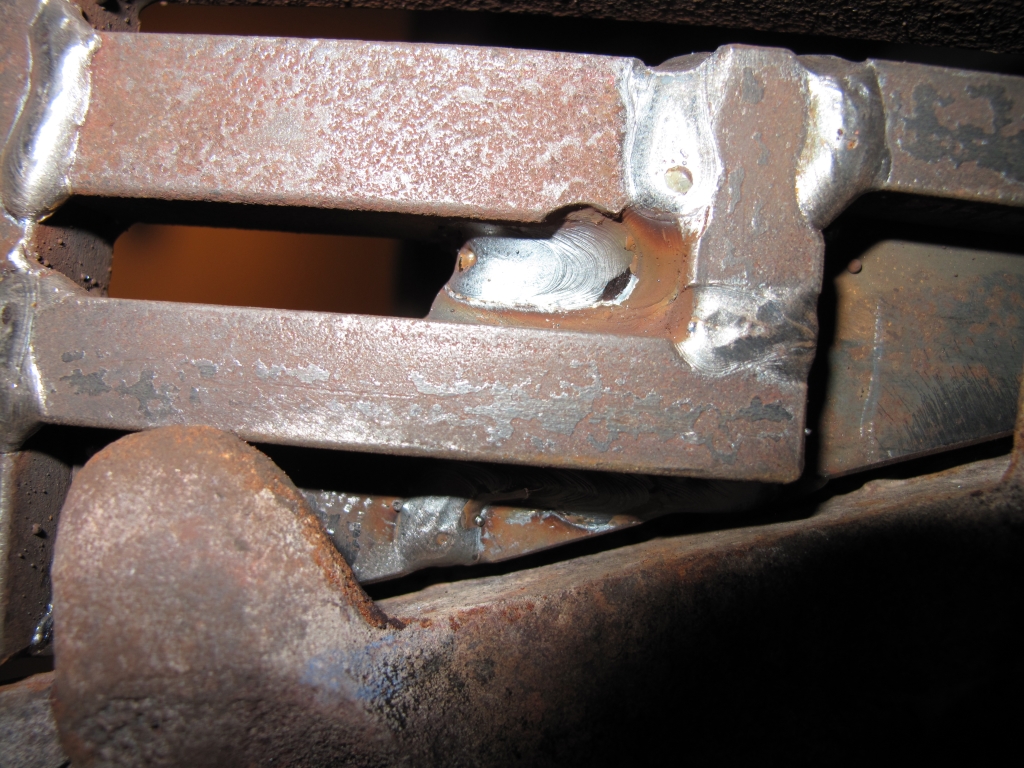
The grate rests on these little brackets and as the damper casing on the right sits above it – any new grate would also have to sit down on the brackets.

grate brackets

So I made cardboard template:

grate template

took it to the local blacksmith and came back with this:

new grate

Looks perfect doesn’t it?  Except if you compare it to the photos above, you’ll notice the damper casing is conspicuous in its absence.  Basically, it’s a testament to why I should never be allowed to measure anything.  It fits the space perfectly but not one of the brackets is sitting in its allocated space – like in the photo below:

grate bracket

Meaning that it sits about a cm higher than it should and therefore the damper casing doesn’t fit.  The blacksmith had said not to worry, if it didn’t fit perfectly as he could adjust it – but as every bracket was out, I didn’t trust myself to be accurate enough about where it needed adjusting and I’d already driven to Laxey four times about about the grate.  So I explained to it Dad and he came around to the house with his dremel, grinder and a drill with a stone attachment.  I painted the brackets so we could see where the paint transferred to the grate and know where to cut (Dad thought I was very weird for doing this which I in turn thought was very weird because I’m pretty sure it’s something I learnt ‘at his knee’).

painted brackets

This is what the bottom of the grate looked like before grinding:

bottom of grate before

After a lot of grinding, testing (painting) and grinding again it looked like this:

bottom of grate after

Not as pretty but….

grate in situ

Hurrah – the slipper fits 🙂  Oh and I also had the blacksmith make me an ashpan – which you can see below the grate.  The bit above the grate is on a hinge (it’s been up in all the other photos), it is for a kettle and is apparently called a ‘falling crow’.

Unfortunately, this means Dad now knows I’m keeping the range and I’ve had a whole weekend of lectures and anecdotes about how inefficient open fires are and how they actually make centrally heated houses colder by drawing all the warm air up the chimney 🙁  Yes, yes, I know but….

The best-laid schemes o’ mice an’ men…

I’ve posted the original floor plans already, this about what I plan to do…. maybe.

Downstairs
proposed downstairs

  • I’ve reconfigured the hall to put in a downstairs WC – there is a decent amount of space below the floor and a manhole right outside the front door so I think this location should be ok.
  • Sadly I’ve lost the vestibule so I’ll have to get a door with a high energy rating and have parcels delivered to Dad’s or work.
  • I’ve moved the door into the extension between the (current) vestibule and the kitchen – unfortunately that wall is load bearing (it holds up the purlin in the roof) so that might be tricky.
  • I’ve made the extension fully openplan – so will need one massive steel.  I tried just about every configuration to keep part of the wall but none of them really worked.
  • The back of the house is south facing so I wanted to keep the kitchen on north wall.
  • As there is no downstairs shower room I’ve gone for a combi boiler and put it pretty much where the mains pipe come in, between the kitchen and as close as possible to the upstairs bathroom and new WC.
  • I can’t have bi-fold doors all the way along the back as that would be a beam on top of a beam but I’m hopefully going to have the extension as light as possible – probably with some skylights in the lean-to roof.
  • Of course I’ve put in a ridiculously large dining table and sofas but as only the kitchen is fixed there lots of scope to move stuff around.

 Upstairs

proposed upstairs

  • No more wall between the toilet and the bathroom.
  • The hot water cylinder will be removed as I’m having a combi (and a new one wouldn’t have fit in that cupboard anyway).  In the space where the cylinder was (and a bit more borrowed from the little bedroom) I’ve put a shower but as that wall is load bearing (it holds up the purlin) it will need a lintel (yes, that’s the same load bearing wall I’ve put a lintel in downstairs as well –  eek!).

Outside

proposed footprint

  •  A driveway between the tree and the oil tank (that involves putting an opening in the stone wall in a conservation area, getting approval from highways and protecting the tree roots for forestry).
  • A new shed 🙂
  • Oh, that bullet hole at the top is a firepit – I’d forgotten I’d put that there.

Anyway, this is where I got to on my own but as much as I love plans I realise I need to get a pro on the case.