Let me be your ‘leccy meter

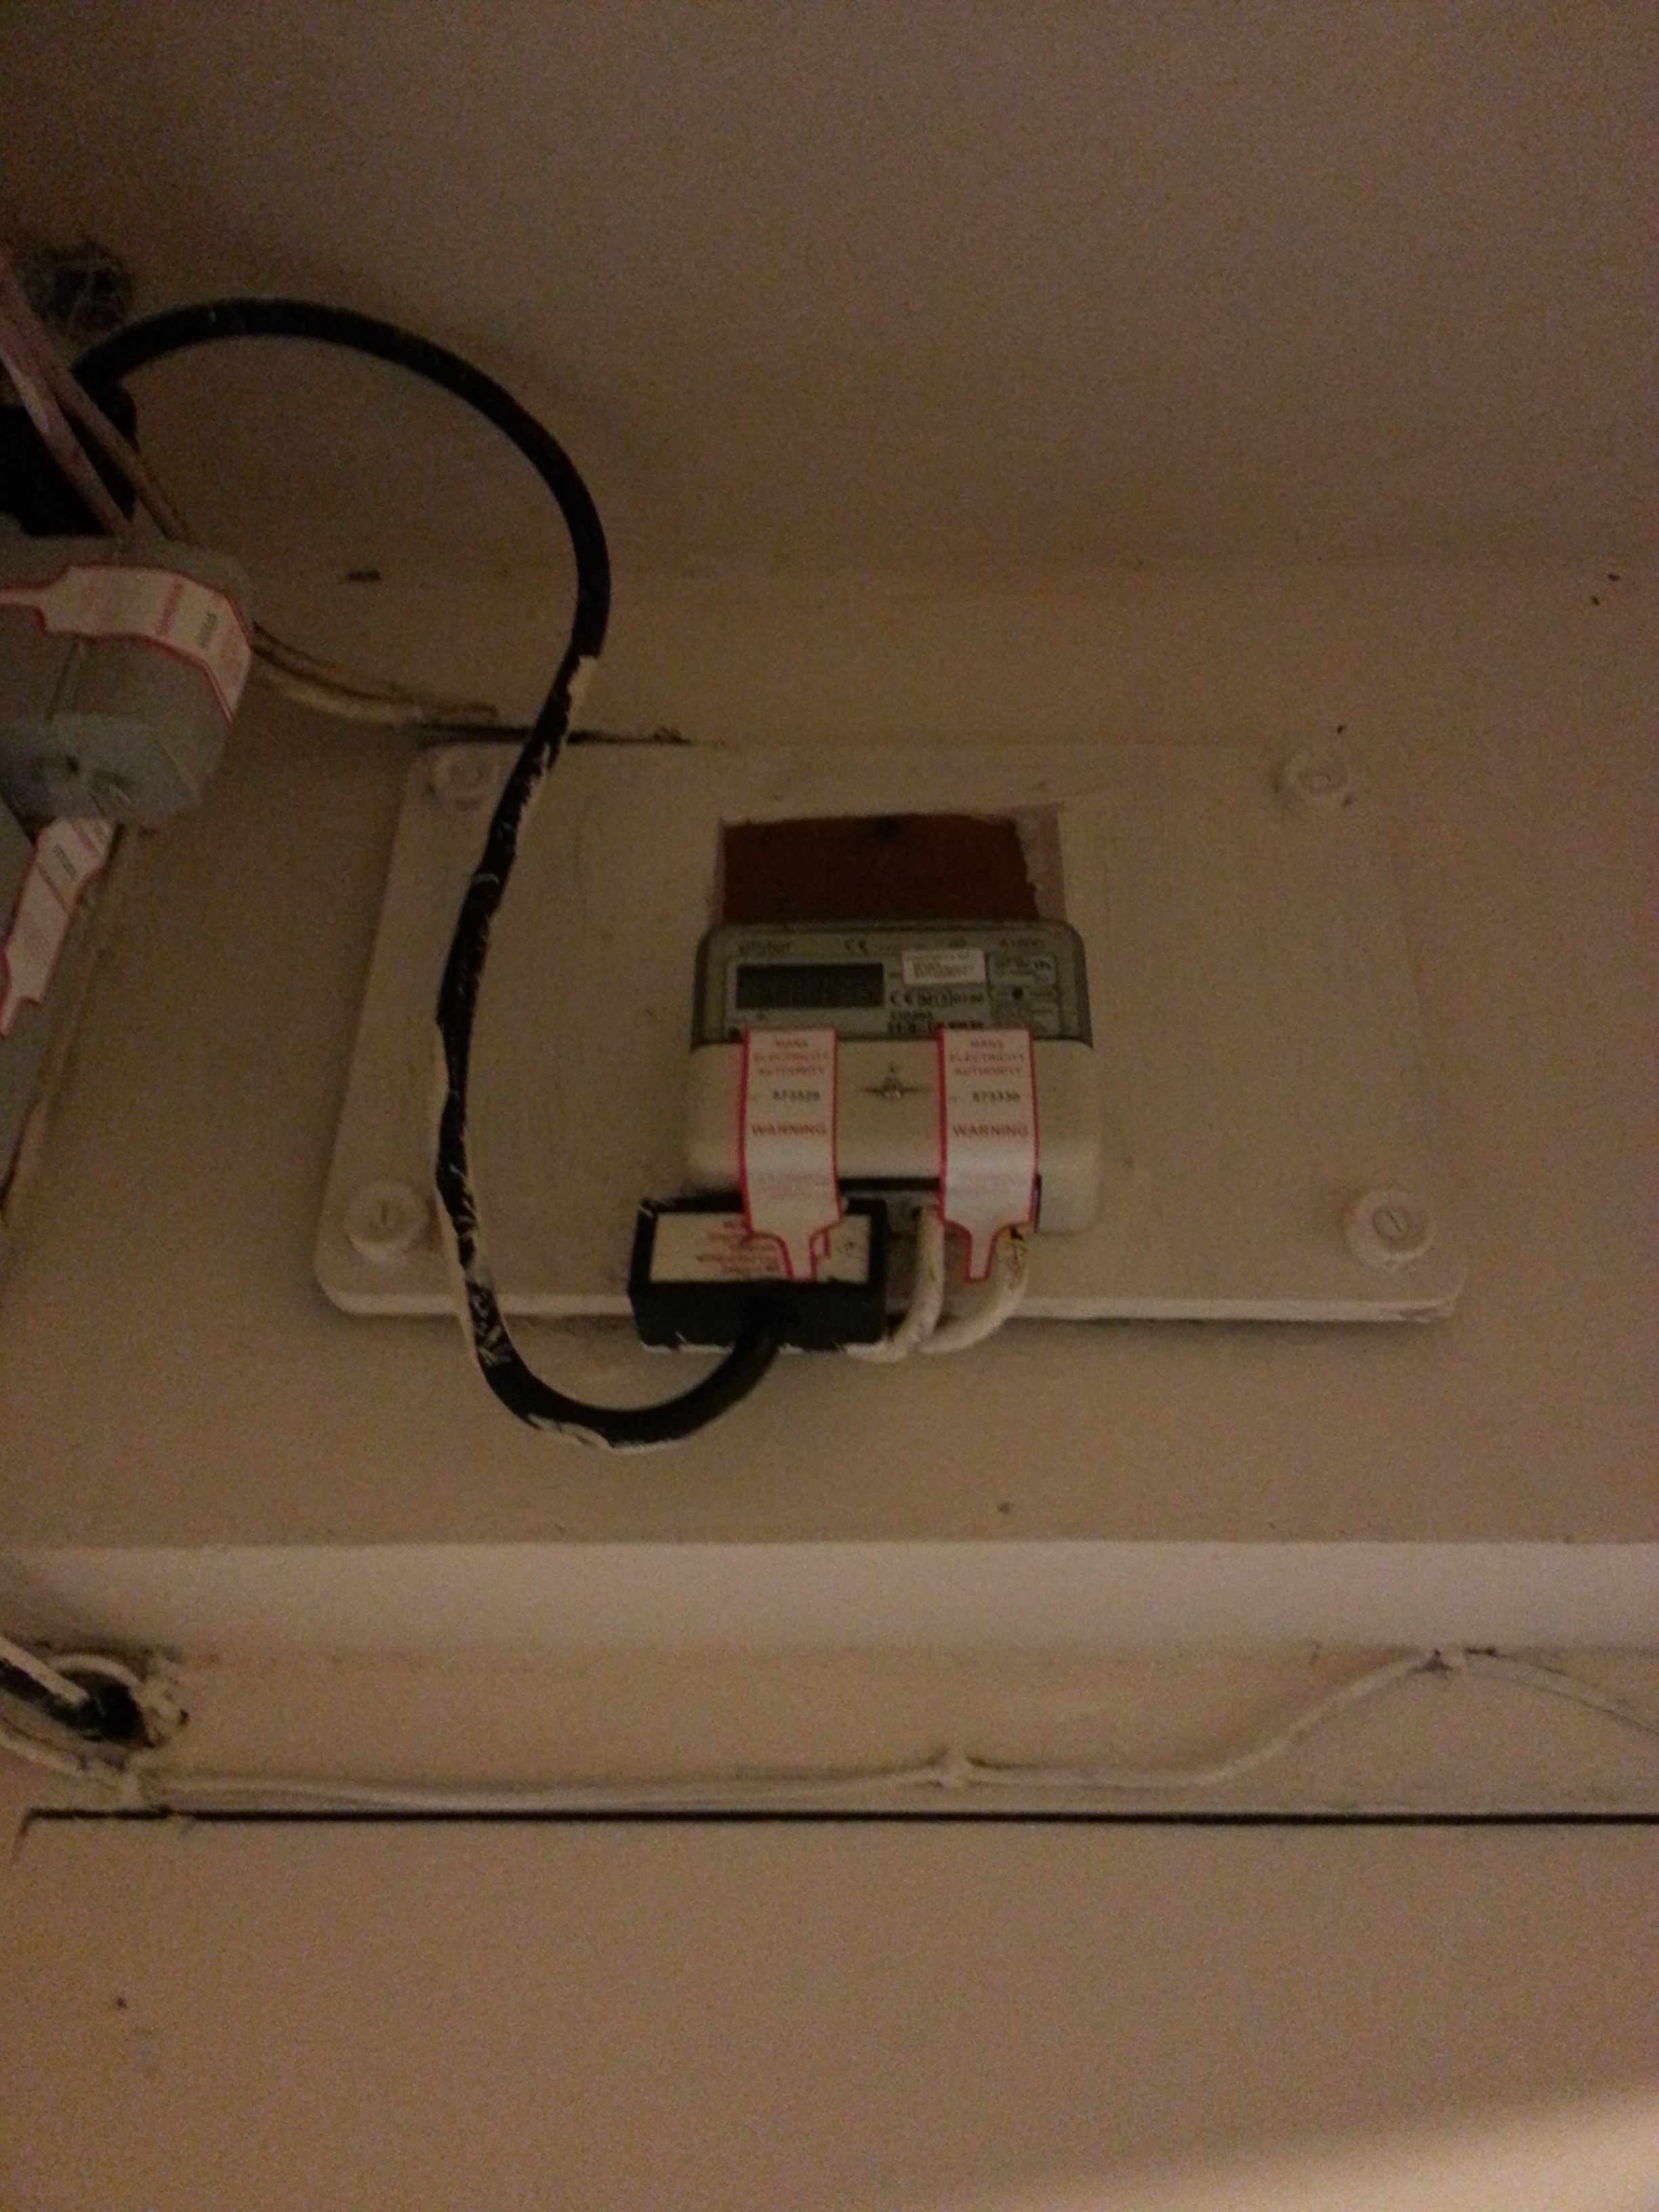
I requested the MEA change the pre-pay key meter to regular billing one.

They required a £120 deposit as I’ve never had an account with them before – I’ll get it back in 2 years plus interest at 1.5% APR!  Given the current interest rates, it’s almost a shame it wasn’t more :)

The guy came this morning and installed the new one.

A very blurry photo of the old one (I took it as he pulled up).

Old meter

And the new meter:

New meter

Which I really hoped would have been an aesthetic improvement but erm – well, isn’t.

Patricia the Stripper

Erm, that’s a Chris de Burgh song in case you’re wondering.

So when I got the house it was all magnolia – which isn’t a bad thing, while it was obviously a doer upper it didn’t look completely tragic.  The problem was the magnolia was painted over wallpaper and none of it was flat wallpaper, it was all either woodchip or anaglypta and as textured wallpaper is usually used to ‘paper over the cracks’, I thought it best to get it all off and find out ‘what lies beneath’.

Since I got the keys it’s been a relentless fight against wallpaper, the war may not yet be won but I think I’ve victories in all the major battles.  This how the course of the action panned out:

Saturday: get the keys bought a wallpaper steamer and a stripper.
Sunday: stripped bedroom number two.  Three walls of anaglypta wallpaper and one of anaglypta wallpaper and plaster.  It seems like the wallpaper steamer sometimes causes the plaster to ‘blow out’ and then it falls off.
Friday: Ellie, Paul and I stripped the master bedroom (anaglypta again) – bits of plaster come off but nothing major.  My suspicions about the wallpaper steamer get stronger.
Saturday: Paul and I strip the smallest bedroom (more anaglypta) – in a few more small areas bits of plaster come off.  The plaster on each of the walls in this rooms seems to be different and that makes a difference to how easily it comes off.  We make a start on the upstairs hall and the stairwell.  The top layer is woodchip but in some places it’s over several other layers of wallpaper, the bottom layer seems to be lining paper which was painted over with gloss, truly adhering it to the plaster – it’s a nightmare, you need to to apply excessive force and just keep chipping at it as it comes away millimetre by millimetre.
Sunday: Paul and I continue on the stairwell.  The two of us work for around 7 hours straight and we get most of it removed.  There is much phaffing to get the best configuration of the ladder in a confined space as well.
Wednesday: Because I’ve bought a sideboard and it’s getting delivered the following day, I decide to start stripping the living room at 7pm at night.  Three walls are anaglypta, so they take about an hour and a half and I spend the next three hours trying to strip just the chimney breast of woodchip, on top of several layers of paper.  Including this rather charming floral number
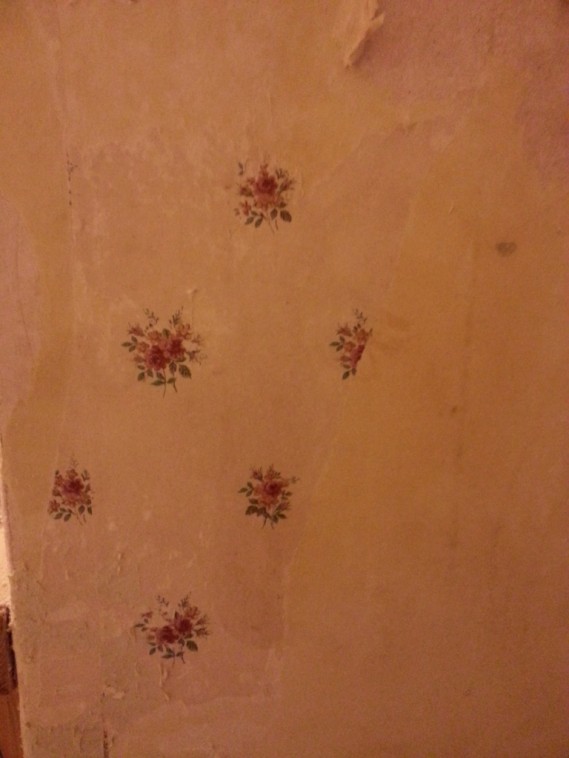
Floral Wallpaper

Friday: I continue at the bottom of the stairwell and the downstairs hall.  It’s more woodchip over more of that floral paper.  There are wires everywhere in the hall (electric and telephone) and they appear to have been both wallpapered and painted over – not good.   The paint on the ceiling also starts coming off with the paper and seems to be very loose (I’m worried there was a leak from the bathroom above).  As it flakes off it keeps getting in my eyes.  Some of the paint has also chipped off the woodwork and it appears to be a mid-brown colour, could be nice…  Anyway, I just remove the wallpaper as best as I can and call it a night.
Saturday: I go get some dusk masks and some safety goggles.  Then temptation gets too much and I go out and buy a heat gun (I spent an hour looking for Dad’s then gave up).  I start with the banister / stair frame in the hall, it doesn’t go at all well, I end up hacking at it so much that I think it will need to be planed back down and I’m still left with green paint scum on the surface.  The paint on the skirting board on the other hand just melts away – I make my way up a few of the stairs (peeling back carpet as I go) until the wires get too annoying.  So then I tried a door frame, same, the paint just melts away. I do half a door frame and then start on the picture rail in the living room, it isn’t quite so easy and I end up charring some of the wood – I don’t have a very good shave hook either.  By now the house is quite foggy and I’ve suddenly remembered that the paint probably contains lead, so I decide to call it a day.
Sunday: I decide to stick to safer tasks and avoid the heat gun until I’ve got a better idea of what I’m doing.  As the paint on the ceiling has half come off I decide I’d better get rid of the rest – easier said than done.  It takes me a good few hours (and a load of elbow grease) to get most of the rest of it off.  Then I spent several more hours removing the remaining bits of glossed lining paper and flakes of woodchip from the downstairs hall, stairwell and upstairs hall.  I’ve been picking up the wallpaper as I’ve been going along (two stuffed wheelie bins plus a few sacks which went straight to the tip) but I’ve not been too precious about it, however with the possibility of lead dust I decide to go around on my hands and knees and pick of all the larger remaining pieces and then give it a good hoover.  Well the hoover is about as much use as a chocolate teapot – I give up, go home and order a shopvac, a proper respirator and a sander.
Tuesday: Wake up to discover I can’t lift my right arm past my shoulder. The wallpaper fights back…

So that’s the saga to date – there were times when I wondered if it might be quicker to wait for woodchip to come back into fashion.  On the whole, all evidence indicates that the walls were fine when the wallpaper went up, they must have just liked it.  How easy it’s going to be to get them back into a state where they can be painted though…

It’s getting hot in here

Except it’s not.

As the tenants only left last summer so I figured the heating would probably work.  That might have been a bit optimistic given… erm, this:

Old Old Boiler

So, one of the first things I did once the electricity was on was to try to fire the boiler.  I’ve never actually had to fire a boiler before (they’ve always just already been on) so I clicked what I assumed was the ignition a few times – it did nothing.  Then I turned that green handle about half way up the right hand side.  It made a whooshing sound – I clicked the ignition a few more times – still nothing.  I stood back and pondered.  Then something seemed to burst and heating oil started spurting up the wall, hitting the roof and raining down on my head.  I jumped forward and turned the green handle again and it stopped.  I shut the door and asked my friends to wrap up warm and bring around some electric heaters.  After a couple of weeks of doing my best to ignore it, I gave me old primary school chum Ste (who’s now a plumber) a text and he came round and gave me some sage advice.  

So firstly, Ste points out that you’re not meant to turn that handle and, had known where to look, I’d probably have seen the pressure gauge steadily rising before it “blew” (which was actually just the overflow kicking in).  Then he asked me where the controller was to switch the boiler on  – “erm, you mean this thermostat thing on the wall in the kitchen?” – he flicked some switches and the pump started up.  Unfortunately it didn’t fire so it’s probably “a part”, he volunteered to send his service guy around but I don’t think it’s worth it – I’m going to have to get a new boiler anyway but that leads us on to the next problem – where to put it?

The boiler is currently in one of the outbuildings which will be demolished for the new extension – so the boiler has to go in the new extension, in part of the existing house or outside (it has to be a special outside boiler in that case).

I gave Ste a decent grilling about what’s the best approach with regard to boilers and heating systems in general and my house specifically – this is what I learned (well, some of this I knew before but is included for completeness):

  • Regular boilers have a separate hot water cylinder (this is the system the house currently has)
  • Combi boilers don’t have a separate hot water cylinder (they heat the water on demand)
  • The current hot water cylinder will need to be replaced and the cupboard it is contained within is too small for a modern cylinder
  • There is quite a bit of space under the floorboards on the ground floor (enough to get down and run pipes)
  • A boiler has to have a flue to an outside wall (it couldn’t go in the coat closet)
  • The cylinder doesn’t have to be against an outside wall although it will need to be vented to the outside, this could be under the floor (it could go in the coat closet)
  • An outside boiler is no less efficient than an inside one.
  • A combi or a cylinder should be as close as possible to the taps which use hot water.
  • It doesn’t matter how far away a regular boiler is from the taps.
  • You can’t chase pipes into brick walls so they will need to be boxed in, somewhere they can all be grouped together will mean a neater job can be made.
  • The cost to supply a combi vs a regular boiler plus a cylinder is about the same.
  • It is about an additional day’s labour to install a cylinder
  • For a my sized house with one bathroom, a combi would be fine
  • For a my sized house with one bathroom and an additional shower room (which is unlikely to be used at the same time) a combi should be ok
  • For a my sized house with two bathrooms (or the prospect of later putting in another bathroom) a regular boiler plus a cylinder would be best, a combi wouldn’t cut it.
  • The hot water cylinder could go in the loft but the floor would need extra support.
  • The cold water storage tank in the loft would be removed
  • The soil pipe is cast iron so another toilet couldn’t be added to the stack
  • There is a manhole outside the front door so it might be possible to run a new soil pipe
  • New radiators are more efficient than the old ones and for the cost, it’s probably a worthwhile upgrade
  • The radiator in the living room (which annoyingly takes up the only wall without a door or a fireplace) could be switched for a vertical one next to the French doors)
  • The radiator in the hall could be changed for a smaller one
  • The radiator in the bathroom has a dodgy bit of pipe (“could go at any time”)
  • He likes my plan to reconfigure the bathroom and add a shower
  • I don’t have to redo all the piping (particularly the bedrooms) but it might be a good idea to do it all at once.
  • My pressure is too high – it needs reducing (high pressure is hard on taps etc)
  • He showed me where the oil level was in the oil tank
  • It’s a single skin oil tank
  • I’ve a lead supply pipe
  • Oh, he showed me how to take the radiators off the walls

I also got him to give me a load of finger in the air prices but until I decide exactly what system I’m going to get and where it is all going to go, we can’t really make an progress.

N.B. all of the above relates to oil boilers – I’ve no idea about gas as oil is cheaper on the Isle of Man.