That’s grate!

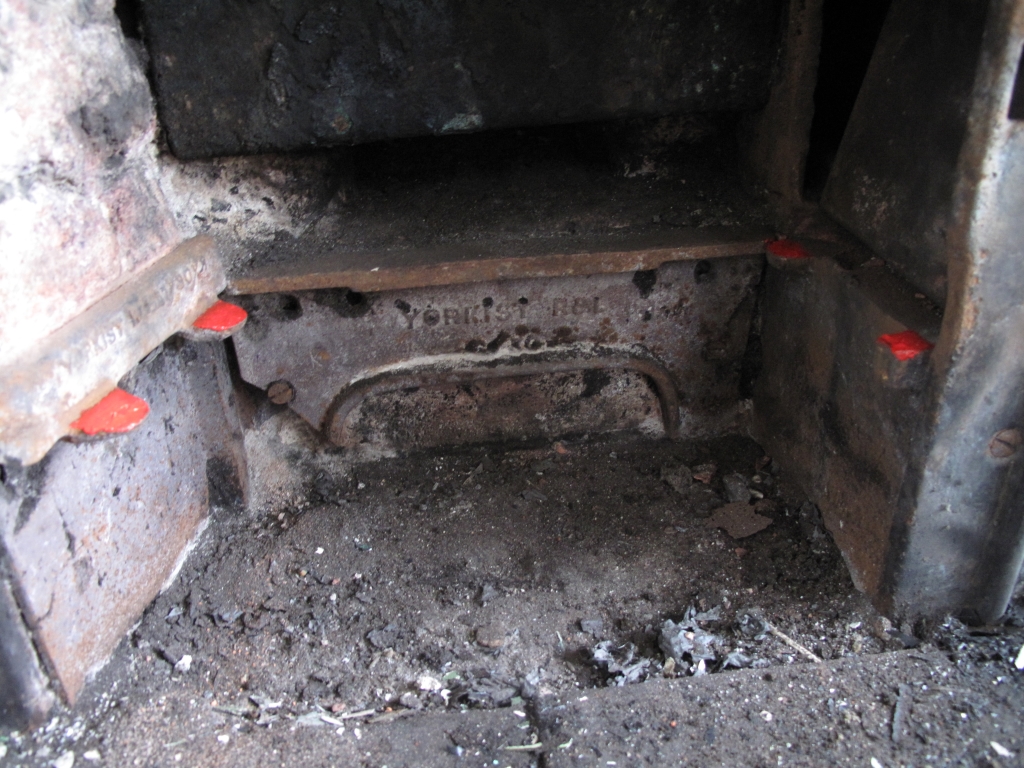
The grate for the Yorkist range was broken in two and severely warped. There were some firebricks which presumably had been used to balance the broken pieces up but it was actually so badly warped that the pieces didn’t fit in the space for the fire any more. It’s not a standard rectangular shaped grate but a trapezium. I did a little bit of googling in case anyone made replacement grates specifically for Yorkist ranges but nothing came up.
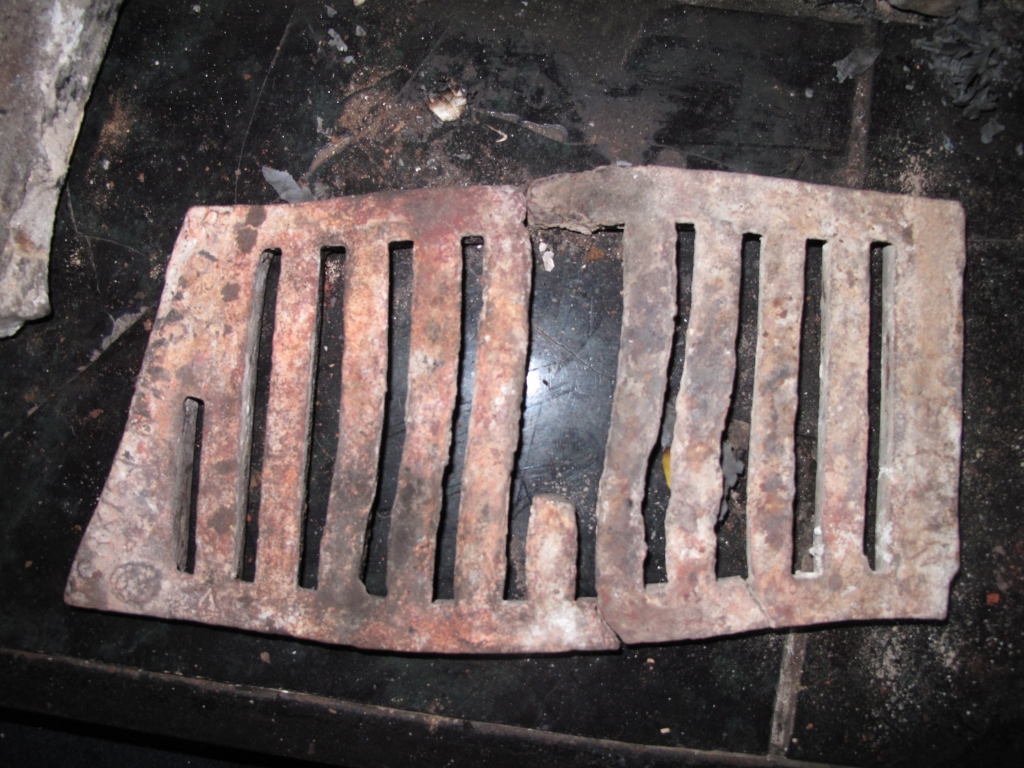
grate

The grate rests on these little brackets and as the damper casing on the right sits above it – any new grate would also have to sit down on the brackets.
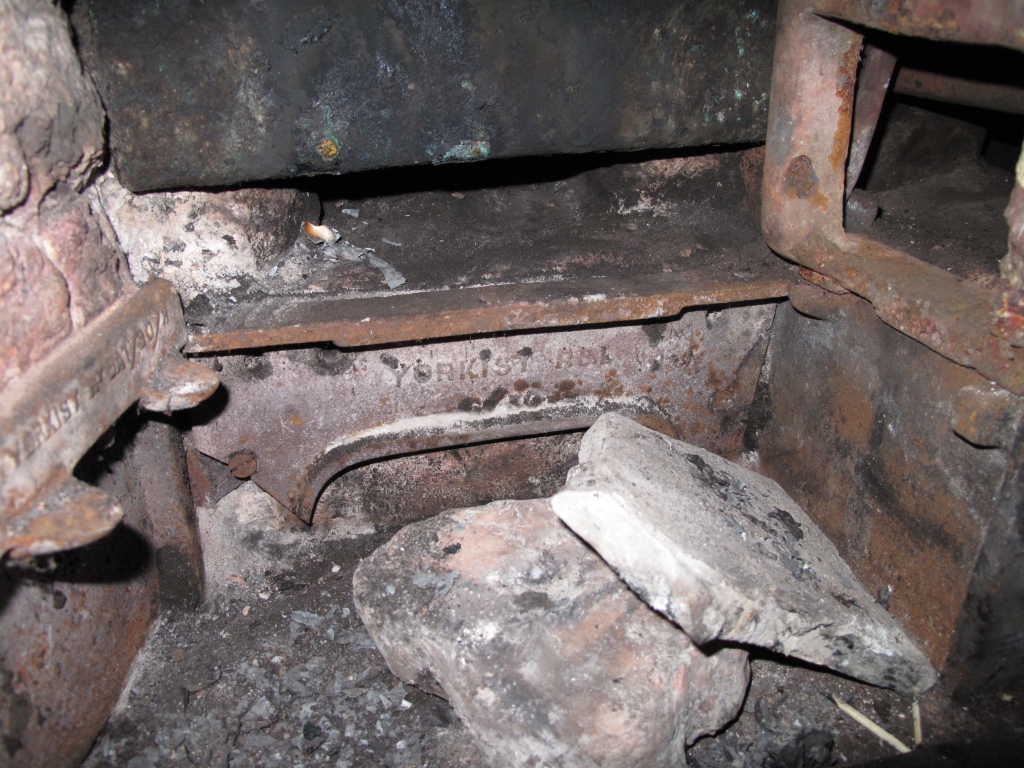
grate brackets

So I made cardboard template:

grate template

took it to the local blacksmith and came back with this:
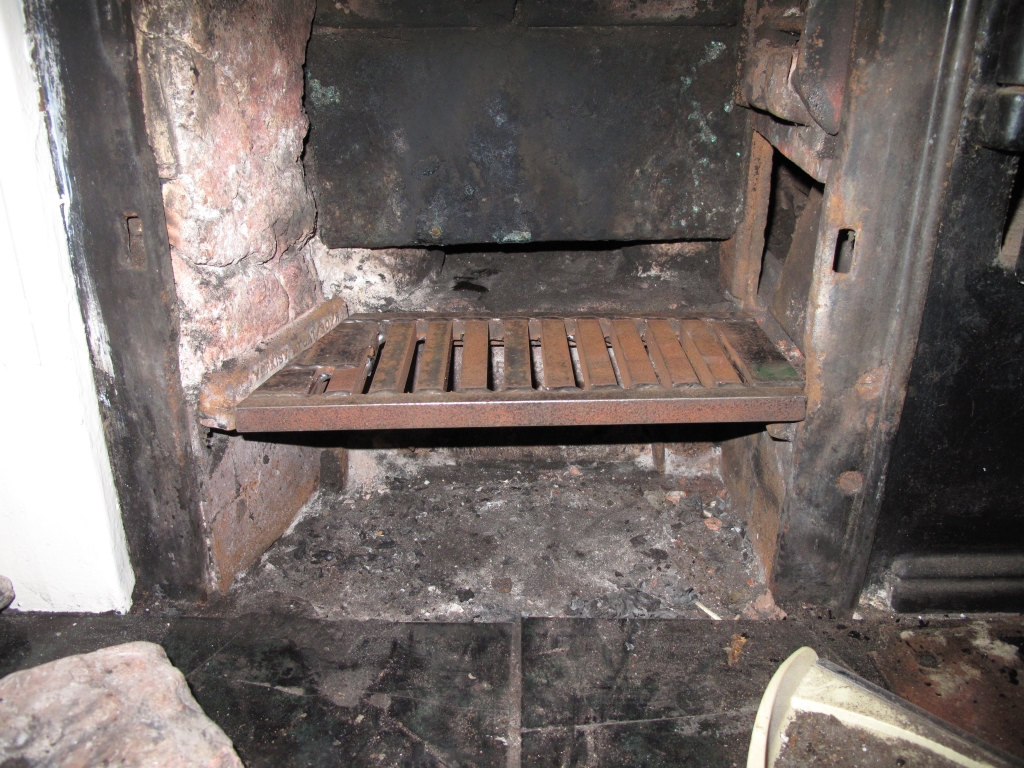
new grate

Looks perfect doesn’t it?  Except if you compare it to the photos above, you’ll notice the damper casing is conspicuous in its absence.  Basically, it’s a testament to why I should never be allowed to measure anything.  It fits the space perfectly but not one of the brackets is sitting in its allocated space – like in the photo below:
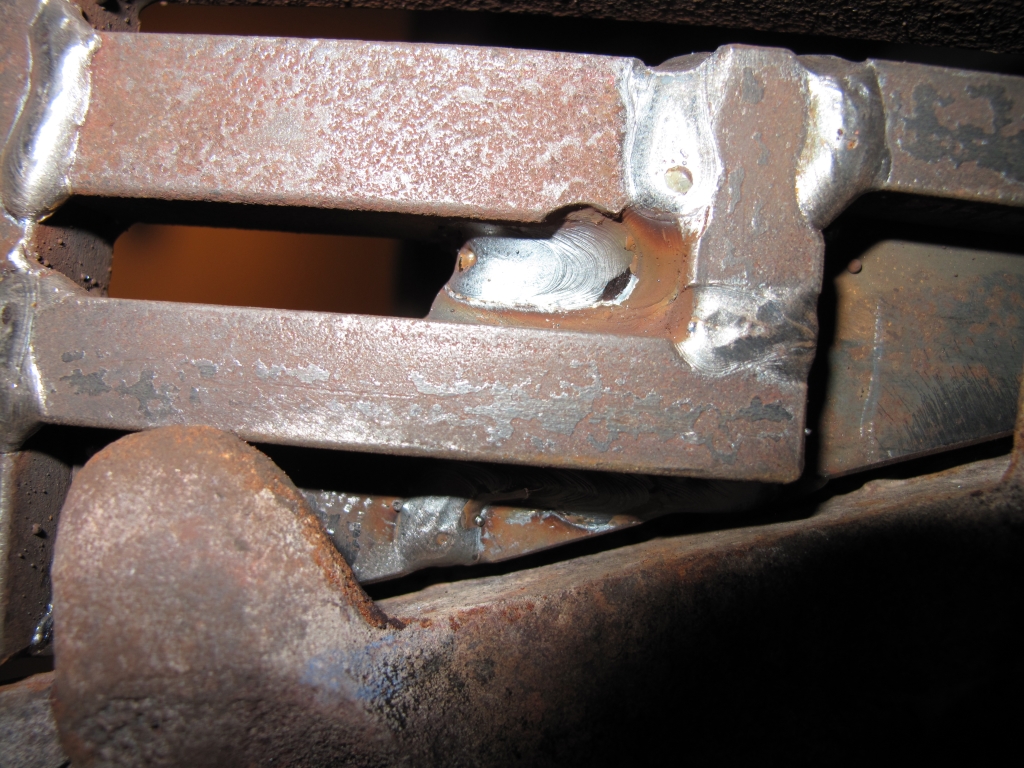
grate bracket

Meaning that it sits about a cm higher than it should and therefore the damper casing doesn’t fit.  The blacksmith had said not to worry, if it didn’t fit perfectly as he could adjust it – but as every bracket was out, I didn’t trust myself to be accurate enough about where it needed adjusting and I’d already driven to Laxey four times about about the grate.  So I explained to it Dad and he came around to the house with his dremel, grinder and a drill with a stone attachment.  I painted the brackets so we could see where the paint transferred to the grate and know where to cut (Dad thought I was very weird for doing this which I in turn thought was very weird because I’m pretty sure it’s something I learnt ‘at his knee’).
painted brackets

This is what the bottom of the grate looked like before grinding:

bottom of grate before

After a lot of grinding, testing (painting) and grinding again it looked like this:

bottom of grate after

Not as pretty but….

grate in situ

Hurrah – the slipper fits 🙂  Oh and I also had the blacksmith make me an ashpan – which you can see below the grate.  The bit above the grate is on a hinge (it’s been up in all the other photos), it is for a kettle and is apparently called a ‘falling crow’.

Unfortunately, this means Dad now knows I’m keeping the range and I’ve had a whole weekend of lectures and anecdotes about how inefficient open fires are and how they actually make centrally heated houses colder by drawing all the warm air up the chimney 🙁  Yes, yes, I know but….

How to make smoke with fire

As previously mentioned (once or erm, twice) I need cowls for the chimneys to stop the birds nesting in there again in the spring.  I’ve only two fireplaces but there are three chimney pots (the bedroom fireplace has been blocked up).  Even picking the most affordable chimney cowls, getting three cowls was going to be over £42 and, well I’m far too tight for that.  So I needed to work out which pot corresponded with which fireplace – so I could get away with buying two.  There’s one big (tall) pot which I’m fairly sure is the range, as the chimney sweep commented that it had really good draw and I’m pretty sure that his pole was poking out of that pot as I walked up the path (I nipped out while he was here).  The other two pots are much smaller, so small in fact you can’t see them from the garden – you have to go to the carpark on the other side of the river.  The chimney sweep said that there was a bit of a down draft in the living room fireplace so he didn’t light it.

So what I needed to do was light a smoky fire in a fireplace with downdraft and then get to a place where I could see which chimney was smoking.  Easier said than done.

I first attempted it yesterday while waiting for the guy from Forestry.  I put a bit of paper in the grate and lit it, went outside – couldn’t see a thing.

So today I was clearing the leaves in the garden and I filled a bucket with some nice dry ones and some slightly less dry ones.  Then loaded up the fire

fire leaves

The photo is of my first tentative attempt – nothing like lighting a fire in your house for the first time and then almost immediately bombing it out of the front door, down the path, out the gate, over the road, across the footbridge, across the road, around cars, trying to find a spot between the trees on the river bank where you can see the chimney pots.  There was definitely smoke, it was a pretty similar colour to the overcast sky and it was getting whipped around in the wind a lot.  Could have been coming from either of the two smaller pots – then it stopped as the leaves had burnt out.

Take 2 – repeat process, only this time I didn’t wait for it to catch properly before running out the door.  School boy error, it didn’t catch and there was no smoke.  There was, however, an old lady and her dog who stood to one side as I was running over the foot bridge (in my boiler suit and red wellies with camera in hand), of course I felt the need to explain what I was doing as I ran past and shouted something along the lines of “need to see which chimney is smoking”. To which she just smiled politely, so either a) she didn’t hear what I said b) she immediately understood what I was doing and ascertained likely reasons for it c) smiling politely is the only cause of action when confronted with someone behaving in such a fashion d) she’s currently pondering the meaning of the cryptic message the girl in the red wellies tried to communicate to her.

Take 3 – well, I’d say that was fairly conclusive.

Chimney smoke

Where’s our nest?

The chimney sweep recommended I get some chimney cowls to prevent the birds nesting the chimney again.  I went by the house this morning to get a photo of the chimney in the daylight so I could try to work out what size cowls I need.

I felt quite bad when I saw them looking forlornly down the chimney for their nest!

No Nest